Resources
Three Ways to Export Files from Syntelic
Views in Syntelic can be exported through a few different processes. Below are some of the basic steps for the various ways that data can be exported out of Syntelic.
EXPORT A TABLE
- Create an action and check the Export Function so that it is selected under the Functions tab.
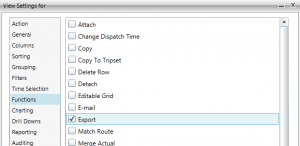
2. Run the report and select the Export icon 
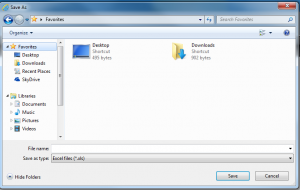
3.Enter the name, location, and format (csv or excel) for the file.
RUN VIEW AS AN EXPORT
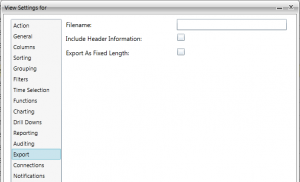
- Create an action view and under the Export tab, enter the following info:
-
-
- Filename: the name and location of where the file should be exported to. *Please note that the export file path should be a network location.
- Include Header Information: Should the file include its header columns?
- Export As Fixed Length: Should the file have a fixed formatted length?
-
2.Manually run the action and it will export under the name and location specified.
THROUGH TASK SCHEDULER
- Create an action view and under the Export tab, enter the following info:
- Filename: the name and location of where the file should be exported to.
- Include Header Information: Should the file include its header columns?
- Export As Fixed Length: Should the file have a fixed formatted length?
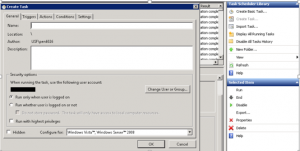
2. Open Task Scheduler and Create a New Task:
3. Enter the Name of the action, a description if preferred, and if there is a preference to run the action when the user is logged on.
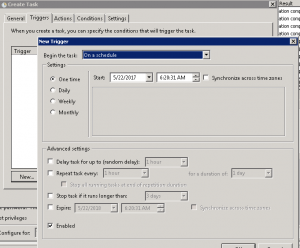
4. Under Triggers, enter the time and how frequent the action should run for.
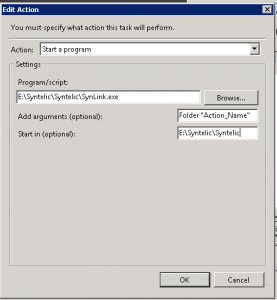
5. Under Actions, select “Start a program” and enter the file path to Synlink:
6. For Program/script, enter the path to the SynLink.exe action and under Add arguments enter the following parameters:
-
- The first parameter is Folder; the folder name that the export action is in.
- The second parameter is Action Name; the name of the export action.
- The third parameter is Division; the name of the division the export action is in.
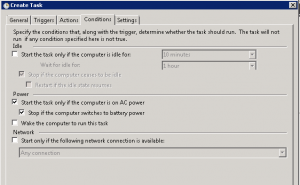
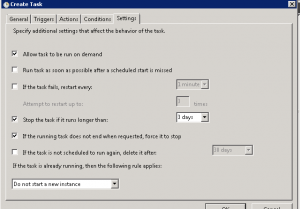
7. For Conditions and Settings, enter the preferences:
